Java 입문
Java 개발 환경 구축
java installation
현재 상황
- Java 를 배워보려고 하는데 우선 아래 링크들을 참조해보려고 함
- Java in Visual Studio Code, VS Code docs
TL;DR
Usage for IntelliJ IDEA
- Extracted from : Create your first Java application
- Step 1. Prepare a project
- Create a new Java project
- New Project ▶ Select Name ▶ Select JDK ▶ Create
- Create a package and a class
- on
srcfolder pressAlt+Insert▶ selectJava Class - in the Name field, type
com.example.helloword.HelloWorldand click OK.
- on
- Create a new Java project
- Step 2. Write the code
- Add the main() method using live templates
-
Live TemplatesUsage - Live Templates page
-
- Call the println() method using code completion
- type
Sy▶ code completion suggestions ▶ typingCtrl+.will insert the selection with a trailing period.
- type
- Add the main() method using live templates
- Step 3. Build and run the application
- Valid Java classes can be compiled into bytecode
- Run classes with main() method using the green arrow icon ▶ in the gutter
- Click ▶ in the gutter and select
Run 'HelloWorld.main()in the popup - On
Runstage, javac compiles your source code into JVM bytecode. - Once javac finishes compilation, it places the compiled bytecode to the
outdirectory
- Click ▶ in the gutter and select
- After that, the JVM runc the bytecode
- Step 4. Package the application in a JAR
- You can package your application in a Java archive (JAR) so that you can share it with other developers
- A built Java archive is called an
artifact - Create an artifact configruration for the JAR
- File ▶ Project Structure (Ctrl Alt Shift + S) and click
Artifacts
- File ▶ Project Structure (Ctrl Alt Shift + S) and click
Usage for VS Code for JAVA
- TO DO
Getting Started
- 전형적인 Getting Started : 환경을 구축하고 간단하게 hello world 찍어보는 것까지 해봄
설치
- 우선 IDE와 JDK를 설치해야 함
IDE 설치
- IDE는 많이 쓰는 Eclipse 대신 미리 설치해놓은 VS Code를 써보기로 함
- 완전 새 컴퓨터에서 Java 환경만 구축하려면
Coding Pack for Java를 선택하는게 빠를 듯 - 나는 이미 VS Code 유저이기 때문에
Extension Pack for Java를 설치하는 게 좋을 듯- Java에서 많이 쓰는 6개의 VS Code Extension을 한꺼번에 설치해줌
- 설치하고 나서 command palette에서 Java: Tip for Beginners 찾아볼 것
- 완전 새 컴퓨터에서 Java 환경만 구축하려면
JDK 설치
- 7곳 정도에서 각기 다른 이름으로 JDK 배포중임
- 일단 Java 책에서 추천하는 오라클에서 다운받기로 함
- 2022-03-11 현재 Java SE 17 배포중 ( SE는 Standard Edition )
- Windows 버전 3가지 ( x64 Compressed Archive, x64 Installer, x64 MSI Installer ) 중 MSI 로 설치
Java 프로젝트를 시작하는 2가지 방법
- 수동으로 폴더 만들기
- 관련 링크 : Creating a Java source code file
- VS Code Extension이 Java 프로젝트에 대해 반응하는 방식을 알아봄
- repository 폴더에
hellojava폴더를 새로 하나 열고 -
code .로 실행 - 해당 폴더에
hello.java파일을 새로 하나 만들고 아래 코드 입력 - VS Code 닫고 다시 그 폴더에서
code .명령으로VS Code로 폴더 열기실행
- 이렇게 하면 Java Language Server 가 자동으로 동작하면서 Java 파일을 실행할 수 있는 환경이됨
1
2
3
4
5
6
7
8

 /**
  * Hello
  */
 public class Hello {
     public static void main(String[] args) {
         System.out.println("Hello!");
     }
 }
- Command Palette 사용하기
- VS Code 클릭하여 실행
- Ctrl+Shift+p 눌러 Command Palette 오픈
-
create타이핑하고 나오는 목록중에서Java: Create Java Project...을 선택 - 그 다음 나오는 선택중에
No build Tools선택 - 부모 폴더 위치 정하는 창이 나오는데 새폴더 만들지 말고 repository 폴더 선택
- 다음에 프로젝터 폴더명 정하는 dialog가 나오니 이곳에서 원하는 폴더명 입력
- 몇가지 폴더 (.vscode , bin, lib, src ) 와 README.md가 자동생성되며
- src 밑에는 App.java 파일이 자동생성됨 ( hello world 프린트 코드와 함께)
Java source code의 기본 구조 분석
- Do it! 자바 완전 정복 책에서 발췌
1
2
3
4
5
6
7
8
9
10
11
12

/**
 * 처음 만든 클래스
 * (여러 줄 주석)
 * /
package exam01;   // 패키지 선언부

public class Test {     // 클래스 선언부
  public static void main(String[] args) {
    // 화면 출력 코드(1줄 주석)
    System.out.println("콘솔 화면 출력");
  }
}
- 패키지 선언부
- 주석을 제외한 첫 줄에 반드시 패키지 선언이 와야 한다
- 위의 예제는 소스파일이 exam01 패키지 안에 위치하고 있다는 의미이다
- 패키지를 언급하지 않았다면 디폴트 패키지를 사용한다는 의미이다
- 클래스 선언부
- public
- 이 클래스를 다른 패키지에서도 사용할 수 있다는 의미 (접근 지정자)
- 1개의 소스 파일에는 여러 클래스가 존재할 수 있지만 public 클래스는 1개만 존재할 수 있다
- Test : 클래스명
- public 클래스명은 반드시 파일명과 일치해야 한다. 즉 파일명은
Test.java여야 한다 - 클래서 body내에는 field, method, constructor, inner class 만 올 수 있다
- public 클래스명은 반드시 파일명과 일치해야 한다. 즉 파일명은
- main() 메서드
- 메서드 선언 형식 :
리턴타입 메서드명(...) {}형태 - 바이트 코드 (.class)가 메서드 영역에 로딩되면 가장 먼저 main()을 실행한다
- 메서드 선언 형식 :
- public
Navigate and Edit Java source code
Code Navigation
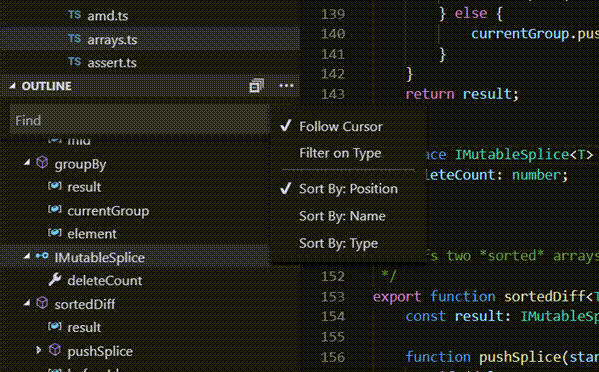
- Outline view : 현재 파일의 members 위주로 표시됨

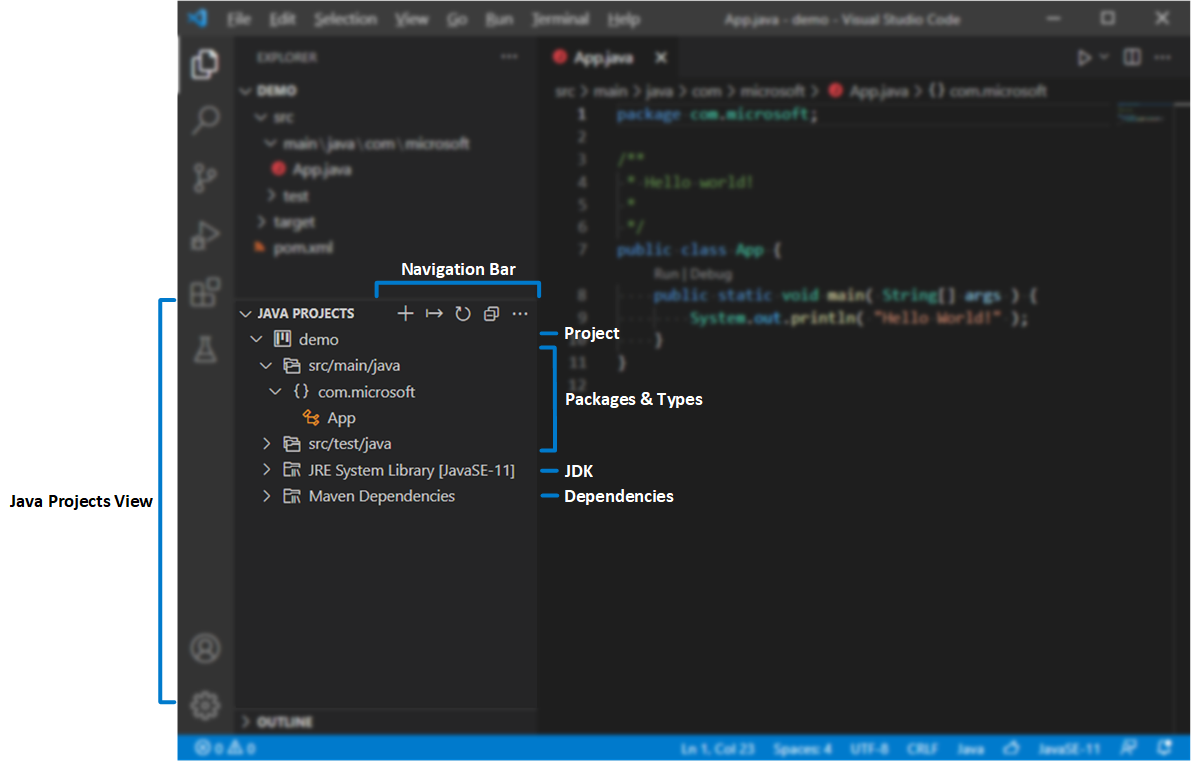
- Project view : 소스 코드를 포함해 프로젝트에 관련된dependencies도 볼수 있다

- 이 외에도
Call Hierarchy,Type Hierarchy,Definition Navigation,Search Types in Workspace등이 지원된다